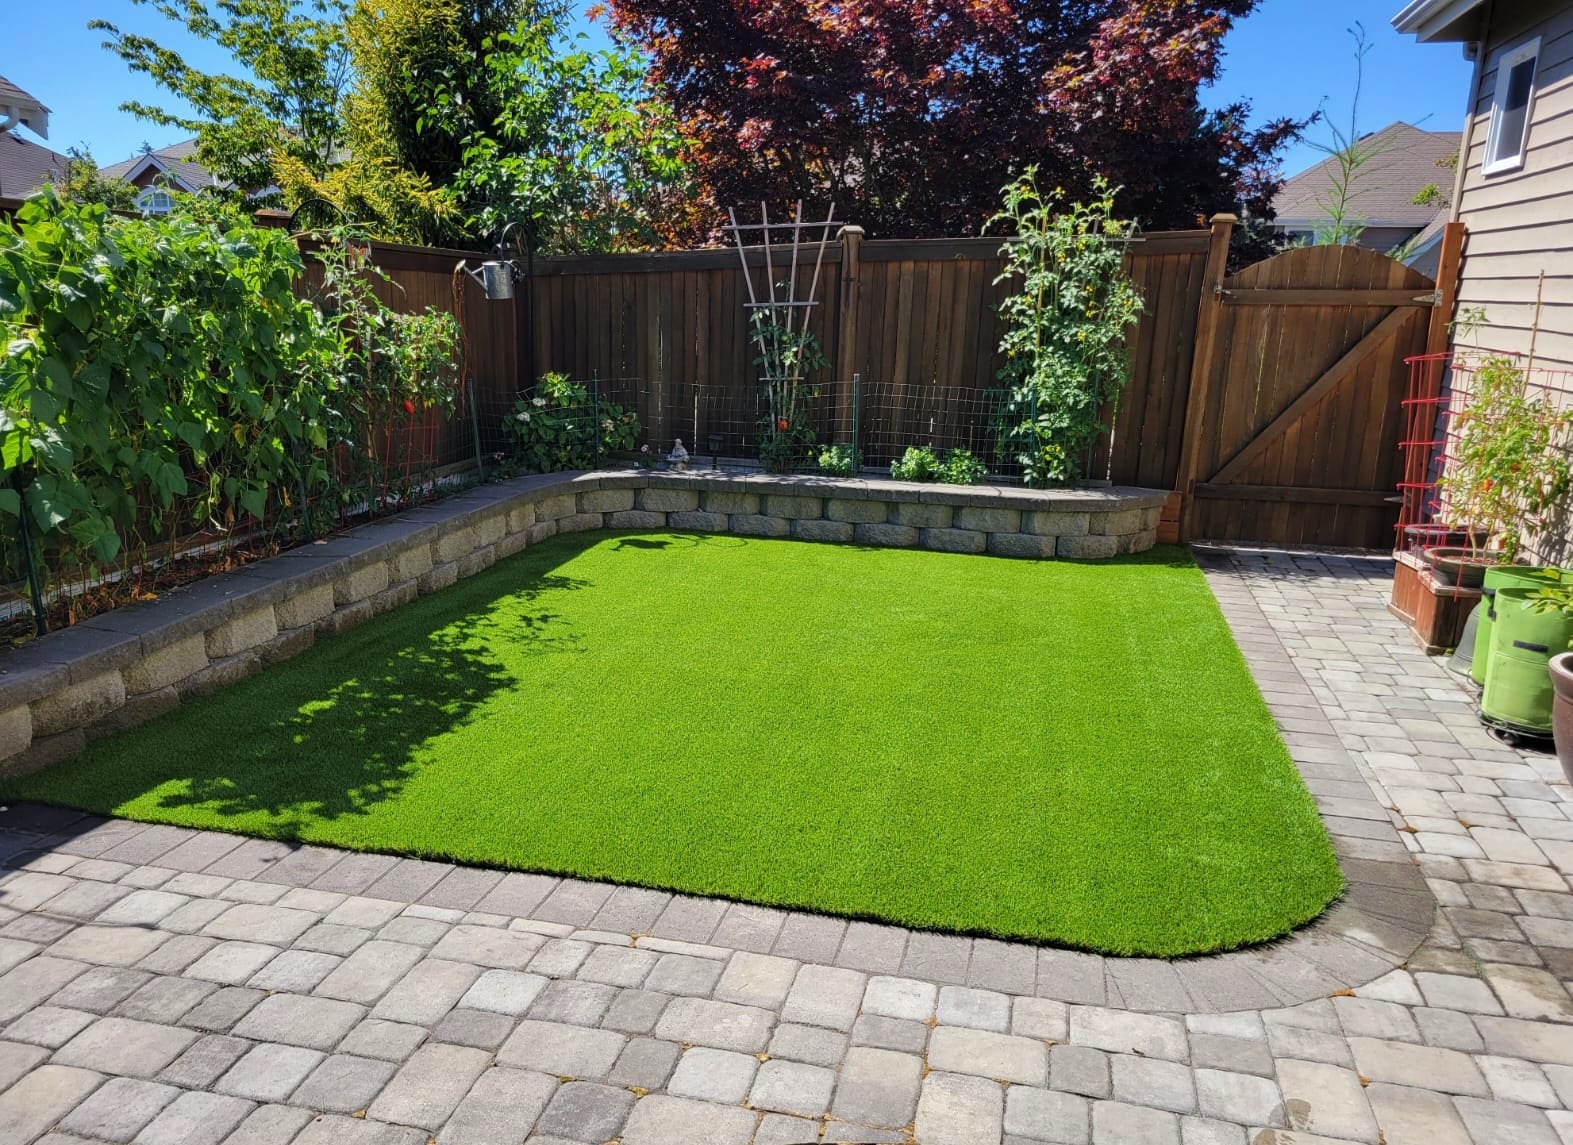
If you are tired of mowing, watering, or dealing with patchy grass, synthetic turf could be the perfect solution for your lawn. Many homeowners hire professionals to install artificial turf, but if you’re the type who enjoys tackling home projects yourself, a DIY synthetic turf installation can be a rewarding and cost-effective option. With the right products, preparation, and advice, you can create a beautiful low maintenance lawn that will last you for years.
In this guide, I will walk you through the steps of a successful DIY turf installation, including expert advice from Jessica Reyes, the Lead Retail and Wholesale Coordinator at Synthetic Turf Northwest, who helps customers with their personal projects daily. I will also highlight the essential products available through Synthetic Turf Northwest to make sure your project goes smoothly and you have all the tools you need.
Step 1 – Planning and Preparation
The first and arguably most important step in installing synthetic turf is proper planning and preparation. According to Reyes, “The first steps are making sure you have your set dimensions and the proper base to install on.” It’s crucial to take your time with this part of the process because it sets the foundation for the entire project.
Start by accurately measuring your space. Knowing the exact dimensions will help you order the right amount of tu
rf, seam tape, and other materials, ensuring that you don’t end up with excess waste or not enough material to finish the job. Once you have your measurements, clear the area of any existing grass, weeds, rocks, or debris.
Next, you’ll need to prepare the base for your turf. This is a critical step, as the quality of your base will determine the longevity and drainage of your lawn. Jessica emphasizes that “the prep work is very important considering this will determine how long you will have your turf for.” To create a strong foundation, install a layer of crushed rock or decomposed granite (about 3 to 4 inches thick), and compact it thoroughly. This ensures proper drainage and prevents your turf from shifting or sagging over time. If you skip this step or rush through it, you may find yourself dealing with problems like puddling, bumps, or uneven turf later on.
Step 2 – Choosing the Right Turf
Not all synthetic turf is the same, and selecting the right product for your specific needs is crucial. Synthetic Turf Northwest offers a wide range of options tailored to different applications, from residential lawns to pet areas and golf greens. When asked how to determine which type of turf is best for each project, Reyes advises considering the use of the area.
For high-traffic areas or homes with pets, Jessica recommends NW Pro Pet or Pro Plush turf. NW Pro Pet has a shorter pile height, making it more durable and easier to clean, while All Purpose offers a versatile option for general-use areas with moderate foot traffic. If you’re installing turf in a family-friendly space without pets, you might prefer the Summer Blend, which features a natural mix of green, brown, and yellow fibers for a sun-kissed lawn appearance.
For those interested in installing a DIY turf putting green, the NW Pro Putt is specifically designed for golf applications, offering a smooth, firm surface for practicing your short game. Choosing the right turf product not only ensures your lawn looks great but also performs well based on how you plan to use the space.
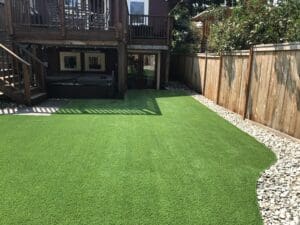
Step 3 – Laying the Turf and Handling Seams
Once your base is prepped and your turf selected, it’s time to lay the synthetic grass. This is where some DIYers run into challenges, but with a bit of patience and attention to detail, you can avoid common mistakes. When laying multiple pieces of turf, it’s important to make sure that all pieces are aligned in the same grain direction. Turf fibers have a distinct direction, and misaligned pieces can create an uneven appearance. Take time to double-check the grain direction before securing the turf in place.
Seams are another tricky area that often trips up DIYers. A poorly installed seam can ruin the overall look of your lawn, making it appear disjointed and unnatural. Reyes stresses the importance of researching seam installation techniques and recommends watching seam videos to get a sense of the different methods available. She also advises avoiding head seams whenever possible and focusing on side seams, which are easier to work with and less noticeable. You’ll need seam tape and glue to attach the pieces of turf together, and it’s worth taking your time with this step.
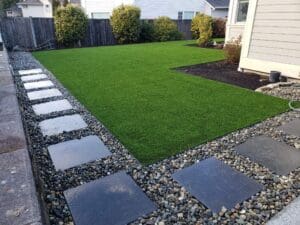
Step 4 – Edging and Securing the Turf
To create a polished look and prevent the edges of your turf from fraying or shifting, you’ll need to install edging. Reyes recommends using black snap edging for a neat, clean finish. The edging not only enhances the appearance of your lawn but also helps keep everything securely in place over time. Be sure to use edging nails or stakes to secure the edges firmly.
When it comes to securing the rest of the turf, you’ll need to use turf spikes, typically 7-inch galvanized nails, which are available through Synthetic Turf Northwest. These spikes hold the turf in place, preventing it from moving or bunching up underfoot. Be sure to space the nails evenly along the edges and throughout the lawn where there is higher foot traffic.
Step 5 – Adding Sand Infill
The final step in the installation process is adding sand infill. Infill helps the turf blades stand upright, giving your lawn a lush, natural appearance. It also adds weight to the turf, helping to prevent it from shifting. Depending on the type of turf you’ve chosen, the amount and type of sand infill may vary. Synthetic Turf Northwest offers a variety of infill options, including standard infill for general use, pet infill for homes with animals, and golf green infill for putting greens.
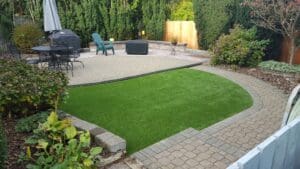
Reyes emphasizes the importance of using the correct amount of sand infill, as not adding enough can result in a flat or uneven lawn. “Not adding the proper amount of sand infill is a common mistake,” she says. It’s always a good idea to research or ask your turf sales rep for guidance on how much infill you’ll need for your specific project.
Need Help? Synthetic Turf Northwest Has You Covered
While many DIYers successfully install their synthetic turf on their own, it’s always good to know that help is available if you run into challenges. As Reyes points out, “We can install it for you, or you can work with one of our trusted contractors.” Whether you decide to tackle the entire project yourself or seek professional assistance for certain parts of the installation, Synthetic Turf Northwest offers support and resources to ensure your project goes smoothly.